How to scan A3 images with the Photoshop combine Layers pallete
 Mastering the photoshop layers palette to import larger cartoon scans
If you haven’t got the luxury of an A3 scanner it can restrict you to drawing on a smaller scale.
The Photoshop layers palette takes this obstacle away and allows you to scan larger images in pieces and then recombine them seamlessly.
I create the majority of my hand drawn cartoons in a larger format that cannot be scanned in one piece. I do this as a larger cartoon allows for more detail and when scaled down looks much sharper.
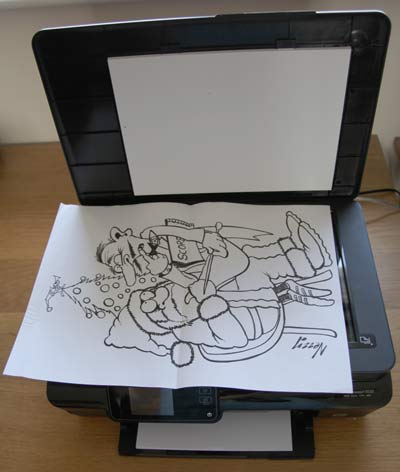
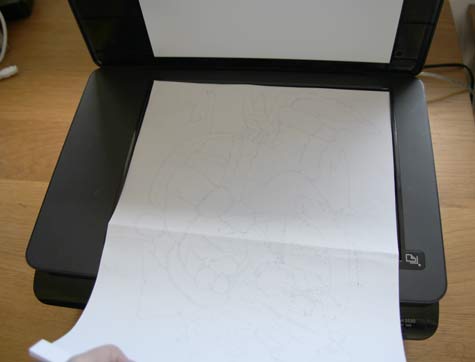
In the following example I go through the various stages from scanning through to creation of the finished black and white image . As you can see the A3 scan won’t fit the scanner so it needs to be scanned in two pieces.
To do this make sure there is an overlap of each ‘half’ to give you room too manoeuvre in Photoshop. Scan each half at 300d.p.i. (300 d.p.i. [dots per inch] is the minimum publishing industry standard – particularly important if you are selling work to be reproduced by printing).
For this example I am using PhotoShop Elements 14 but the process is basically the same whichever version you use.
After you have scanned both halves of the A3 image open them up into Photoshop.
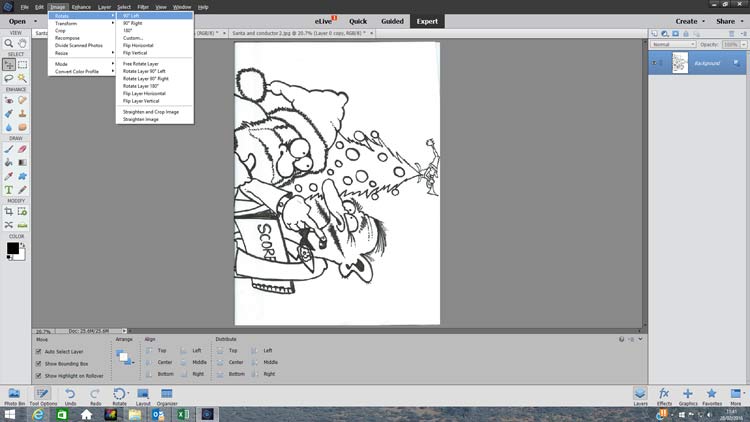
If you need to rotate each image select IMAGE/ROTATE and select either 900 left or right depending upon the way you scanned the original
After you have scanned both and set up the correct orientation (in this case to ‘portrait’) the next step is to create a blank A3 file to place both ‘halves’ on.
Select FILE/NEW/BLANK FILE
From the box that opens:
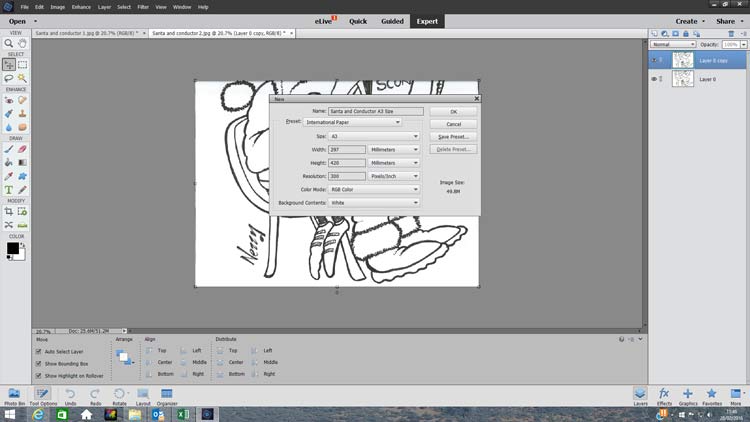
- Give the file a name
- Select PRESET/INTERNATIONAL PAPER
- Select SIZE/A3
- Select RESOLUTION/300 d.p.i.
- Select BACKGROUND CONTENTS/WHITE BACKGROUND
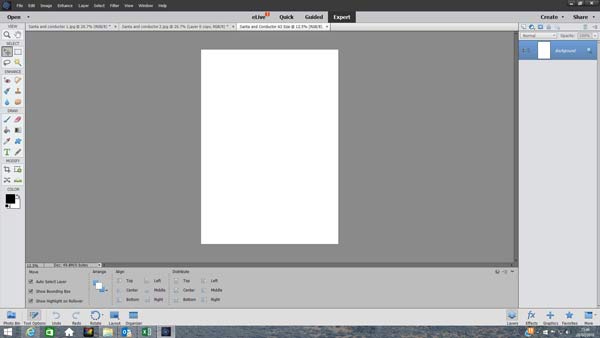
Click OK and a blank A3 template opens in addition to the two scans.
 The next step is to put both scans into the A3 template you have just created.
In Photoshop Elements 14 you click on the tab for the first scan and select the ‘Move’ tool which is located in the tools pallete on the left hand side of the screen shown.
This allows you to drag and drop images and parts of images across the screen. (move tool highlighted in yellow – right)
You then click on the scan image and drag it upwards to the new A3 template tab until that screen opens and then release the mouse depositing the image into the template.

Do the same with the other half of the scan and you end up with the complete cartoon in two halves but on the same template.

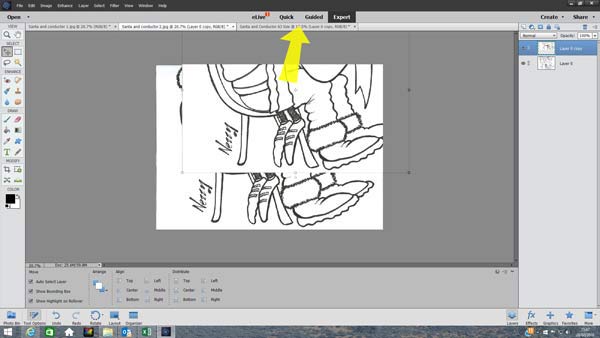
You will notice that on the right hand side of the screen there are now three layers – the two scans plus the A3 template background.
You will also notice a dark line in the middle of the screen that you need to get rid of. This is the edge of one of the scans and can be deleted with the eraser tool. before you do that you need to see how much ‘overlap’ between the two scans you have to play with.
In the layers pallete on the right side of the screen click on one of the scans and select OPACITY/50%. A slider will appear and by adjusting you can set the opacity at 50%. Then do the same for the other scan. This will allow you to see the edges of both scans and shows you how much overlap is available to erase. Note the darker band in the middle – this is the available overlap.

Reset the opacity to 100% on both scan layers. In the layers pallete drag the lower scan layer above the upper scan layer. This will mean that the lower section of the drawing is on top as this is the layer we will part erase to remove the dark line.
Select the eraser tool from the left hand tools pallete then on the bottom left of the screen adjust the opacity to 50% and eraser to 200px.
Another way of adjusting the tool size (works for brushes as well) is to use the square brackets on your keyboard [ ] which increase ] and decrease [ the size of the tool. The shape of the tool in use can be changed from a round tip O to cross hairs + by hitting the caps lock on the keypad (on and off to toggle between the two views). It is worth trying both of these tips as they are really useful and time saving.
Make sure the top layer is activated (by clicking on it in the layers pallete) and carefully erase the black line. This will reveal the clean section of the layer below and create a seamless cartoon.
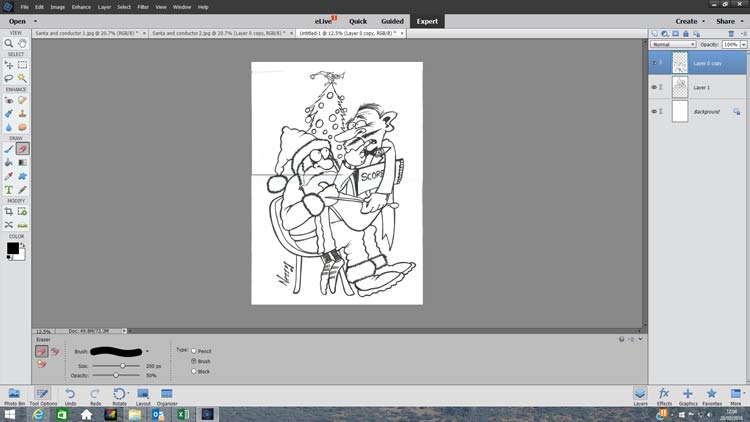
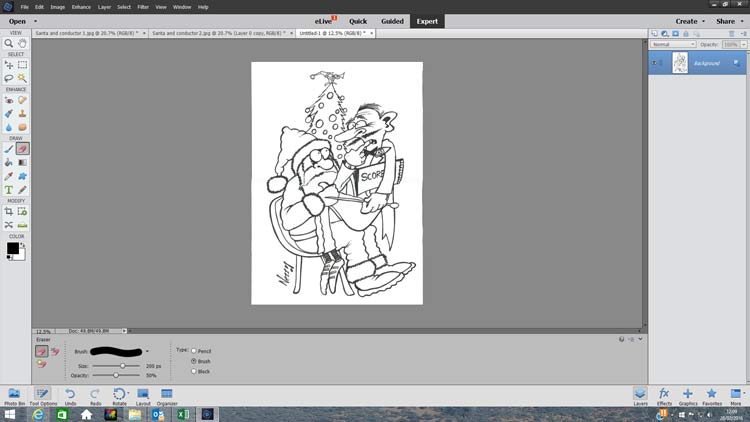
Once this is done the last job is to flatten all the layers into one. Select LAYER/FLATTEN IMAGE

All layers will merge and the two halves of the original A3 drawing are now back together as one.
 Once you have done this a couple of times it all falls into place and is second nature.
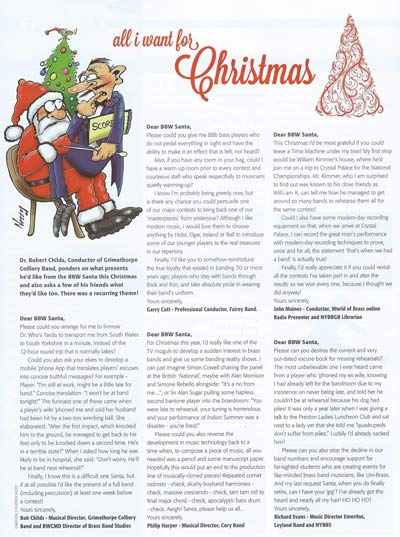
This particular cartoon was for last years Christmas Edition of Brass band World Magazine and after some additional coloring in Photoshop and Sketchbook Pro it looks pretty sharp due to the reduction of the original black and white image.
This is why I really like the facility for reduction from large scale (A3) to smaller scale with a little help from splitting the scan and reconstruction in Photoshops layers feature. This is not limited to scanning an A3 cartoon as you can scan in larger images and use the same process to join them together.
Photoshop Combine layers – One word of warning!
If you try to scan in a large color picture this often doesn’t work. There is usually a slight color variation between scans a which is extremely difficult to correct in photoshop. The best way is to scan in the black and white image as shown and do the coloring after. either on photoshop or by printing of the reconstructed image and coloring manually.
Microsoft Picture Gallery as another way to stitch together oversize images – suggested by Marc Comden
I received the following e.mail from Marc Comden who has a different approach to stitching together oversize images. I have yet to try this but you may wish to try Marcs method as an alternative.
I’ve had great success using the panorama feature in Microsoft Picture Gallery to stitch together oversized pages. I will scan the print in sections, save, then in Microsoft Photo Gallery highlight and click on the create tab then panorama.
It does not matter whether the scan is pieced together vertically or horizontally or how many sections are scanned. I have found this program to save me hours in stitching together 12 x 12″ scrapbooks. I would imagine there is a similar feature on the Mac.
If you would like to see some more information on Photoshop tips visit our art tips and tricks category here…