How to Draw a Face Easily – Short Cut Fix for Cartoon Caricatures
Want to know how to draw a face so that you don’t waste valuable time trying to get the likeness? It can be absolute hell trying to get the a person’s facial features in the right shape proportion. I take my hat off to those lucky cartoonists that know exactly how to draw a face and can always seem to capture a character quickly and easily – it is a joy to watch when a caricaturist seemingly conjures a spitting image out of thin air with a couple of pencil strokes in two minutes.
 Constantly getting requests to draw cartoon characters of specific people was a problem and until recently I had declined simply because of the fear of not being able to come up with the goods and knowing that one face could take hours to get right. It’s all well and good reading the many ‘How to Draw Faces’ blog posts and books but it doesn’t work for me. On saying that there are some excellent ‘How to draw Faces and Caricature books on the market the two I have in my reference library that really stand out are:
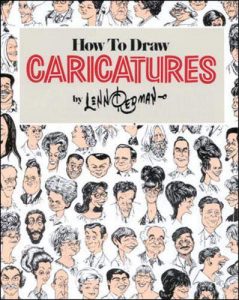
- How to Draw Caricatures by Lenn Redman – Available on Amazon Here…
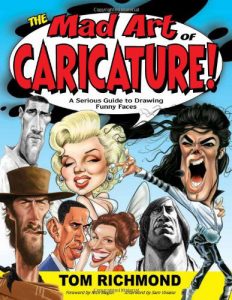
- The Mad Art of Caricature – A serious guide to Drawing Funny Faces – Available on Amazon Here…
All the other stuff like bodies, buildings and accessories – basically anything that can be dragged from inside my head are fairly straightforward but drawing faces is a personal nightmare!
 Face your fear and draw!
Saying “no can do” was getting me down so bit the bullet. I had a plan…well actually I had just acquired a light box – the answer to my nightmares.
I can hear you groaning in the background but hear me out. Copying is not something I like doing but in this case I don’t use a light box to copy verbatim.
It’s just a tool to get the basic features right – head shape, eyes, nose mouth and distinguishing lines dimples etc.
This method is like a halfway house between total frustration and eventually being able to get really comfortable with facial awareness.
I am already finding that I have already improved freehand through using this method. Hopefully – one day over the rainbow i will be able to draw straight off the bat and get a great likeness every time. just think of this system as a learning aid for now!
Here’s what I do…
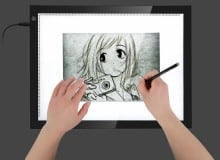
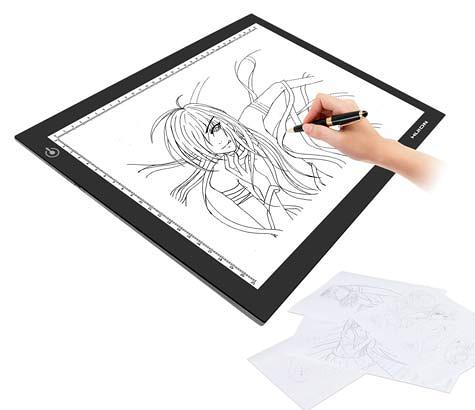 1. How to Draw a Face With a Light box
First some background information on light boxes. (skip this section if you are familiar with them).
What is a lightbox?
For those of unfamiliar with this piece of artists kit it is simply a set of L.E.D. Lights embedded behind a white plastic screen. The light box is usually very thin and lightweight, comes in a variety of sizes connected to the mains and there are usually several brightness settings. It isn’t rocket science and is a very simple electrical device.
Which Size Lightbox would I need to draw faces?
In my opinion it should be as large as possible so that you can draw faces and scale down later. I use an A3 light box which allows be to be as versatile as I like when sizing.
How much does a light box cost?
Because it is a very simple device you can pick up a light box quite cheaply – for under $20 / £20 you can get a good A4 light box and for double the price an A3 size. (See my recommendations below in a variety of different sizes).
2. How to Draw a Face – Preparation
I start the process by getting the best possible photo I can of the subject. I generally go for a suitable pose that will fit well with the situation I am going to put the character in and hopefully with a smile. If I have the benefit of knowing the person directly it is easier to select a good photo as I know their facial features.
If you have been asked to draw a caricature of someone you do not know and cannot physically see here’s a tip. Ask the person who has commissioned you to do the caricature to send as many photo’s as possible and always ask for high resolution images where possible. There is nothing worse than being sent a poor quality photo that pixilates badly when you enlarge it. Also ask if there is any video available of the person as this will give you a better insight into their personality and facial quirks.
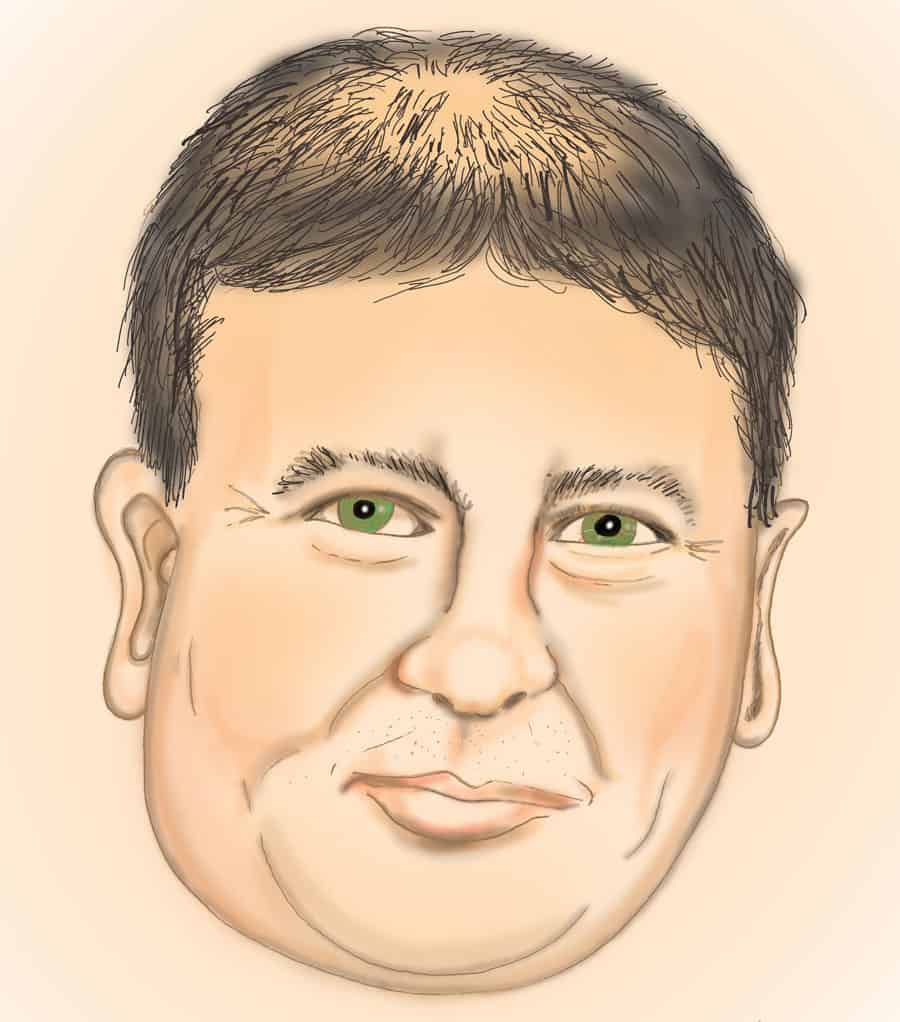
Eye color – always ask!
One last and very important question you should always ask is the subjects eye color. Photos are often unreliable in this aspect and there is nothing more soul destroying than proudly showing your artwork to the customer only for them to point out that the eyes are the wrong color! In the example I show below I thought the persons eyes were blue but after checking I was assured they were green – which could have been a disaster if I hadn’t asked!
Study the features
When you have all the images you need take a little time studying the faces. What is it that makes this person unique. It will usually be a combination of a couple of things – the way the teeth look when they smile, wrinkles around the eyes, perhaps the mouth is not symmetrical, maybe the hairline. Analyse the face thoroughly before you start.
3. How to Draw a Face – Getting the Essential Features
Setting up the photo on the light box
Once you have decided on the best image for the job import it into your drawing software. I use Photoshop Elements and either use the electronic file supplied or scan any photo provided. I then make it as large as possible on an A4 sheet (or larger if you have a printer to handle largere sizes) and print it off.
The print is placed on the lightbox with a new clean A4 sheet placed directly above. I operate light box on the brightest setting so that the image appears really clearly through the top A4 sheet.
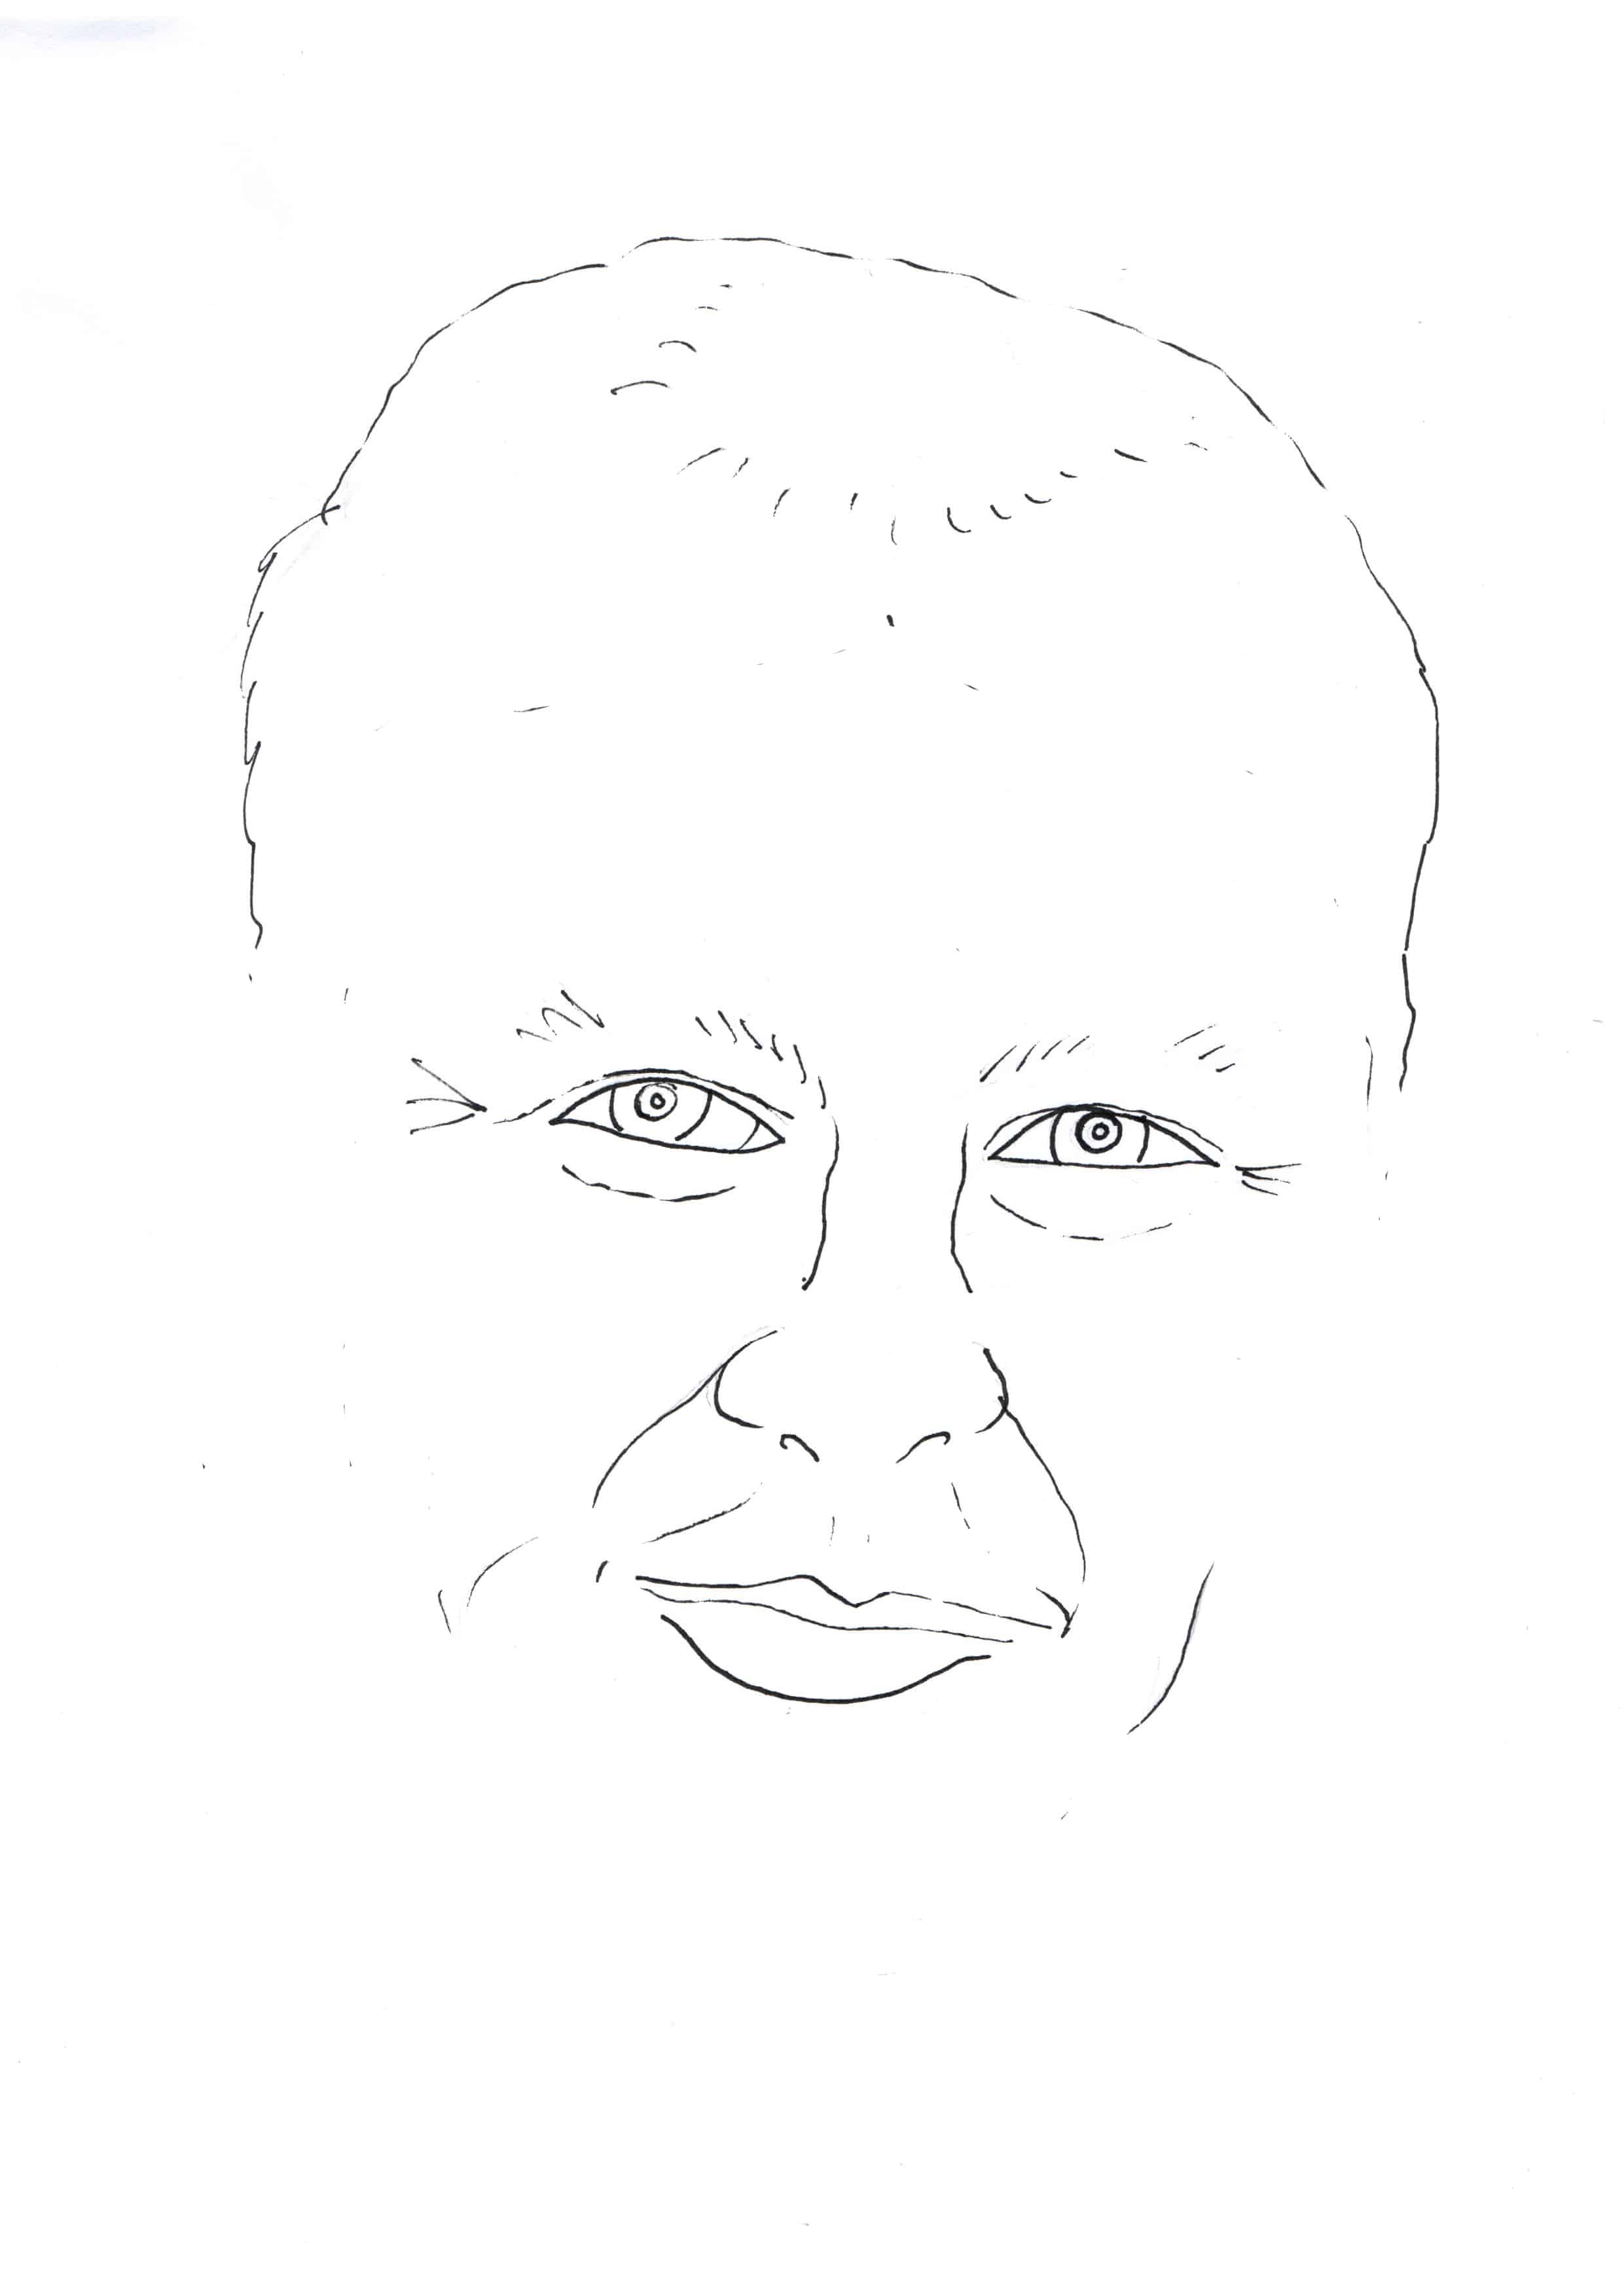
Outlining specific features
Using a pencil I lightly sketch out the basics. The eyes are the most important aspect. After getting the outline of the eyes correct I focus, not on the position of the iris but sketch around the whites of the eyes. This leaves the iris in the perfect position and helps with overall eye shape.
I sketch the rough head shape, mouth nose and facial features that ‘make the person’. Sometimes one dimple or a line around the mouth can make or break a caricature. You really have to drill down sometimes to find the very essence of what make that persons face a great likeness.
Once thats done you have finished with the light box and you have a rough pencil outline or maybe just a few features. All you are doing is giving yourself a head start (excuse the pun) with the persons unique facial set up. As I said I never try to completely copy. If you use this method of how to draw a face you will quickly see that it isn’t like producing a photocopy.
 4. How to Draw a Face – Using a computer graphics table – Setting out the Drawing in Your Chosen Software

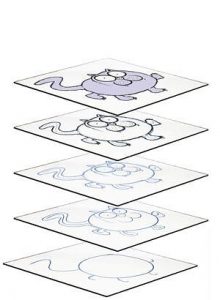
Layers
Scan the pencil sketch and import it into your chosen graphics software package. As a rule I use photoshop which allows you to use the layers pallet. In simple terms this allows you to use and edit different layers to make up one image.
Imagine layers of glass stacked on top of each other. You can have a sketch on one, line drawing on another plus colored and shading layers.
When you view it in total it is a single picture . The advantage is that any individual layer can be amended, deleted, copied or moved to the front or back. You can also enlarge in size or reduce plus a multitude of other tweaks and turns.
So you can see why layers are so attractive especially for cartoonists! Being able to correct easily and the ability to move features and characters around.
Arranging the layers
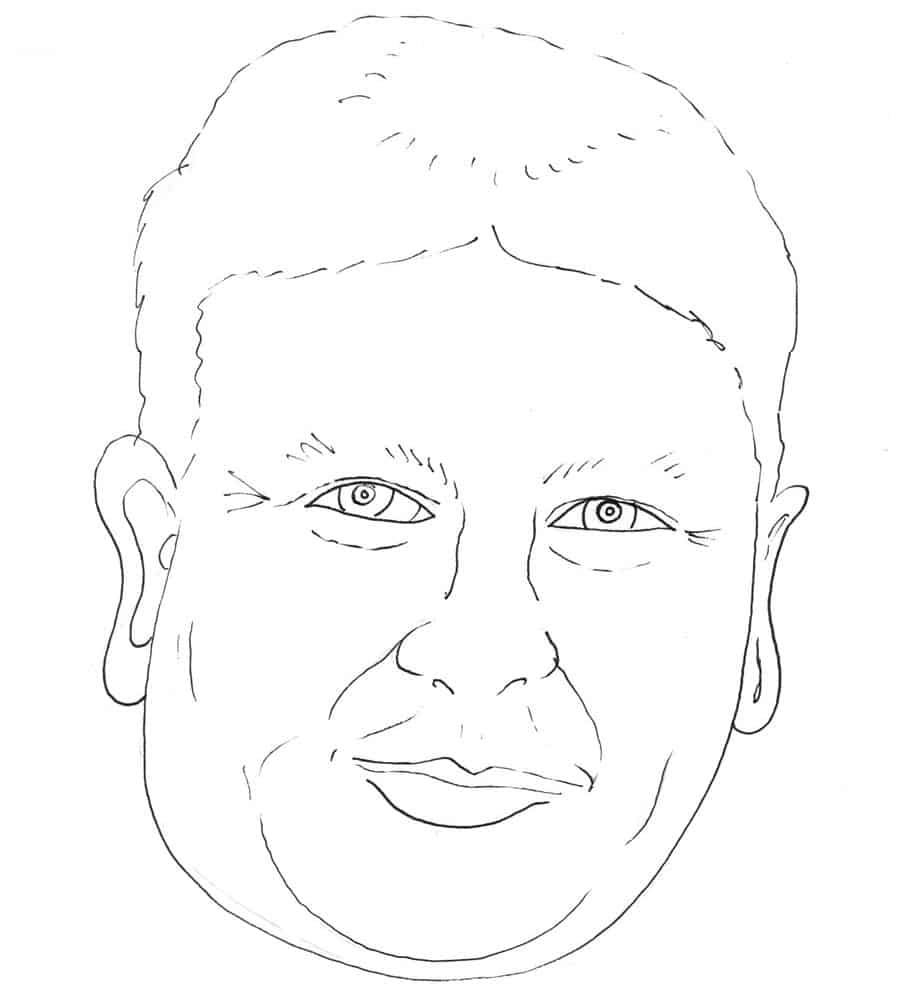
Using the sketch as the base layer I create a second level above it and with Photoshop on my graphics drawing tablet. I do a full pen sketch of the head using the pencil marks below on the original scan as a rough guide. I usually create another layer and refine the ink sketch. Once I have arrived at the ink version I am happy with I usually hide or delete the others.
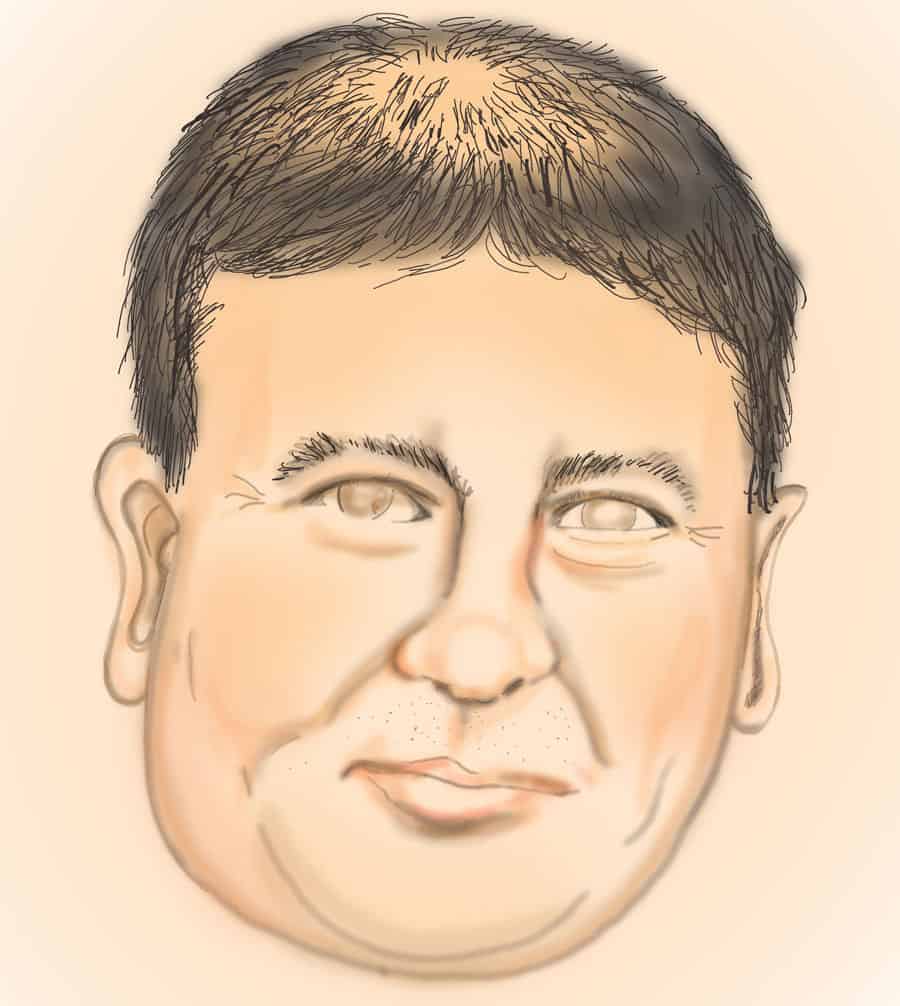
After that I create a layer below the finished pen drawing of the head and add color. slowly adding different layers with shading and head hair, eyebrows and facial hair. Any errors or tweaks can easily be done on each individual layer. Imagine trying to do that with a paper only drawing!
Keeping the whole caricature in the same cartoon drawing style
Once the head is finished I flatten all layers so the head is just one layer. before doing this I will save a master copy of the head with all layers. This is essential if you ever need to make adjustments. Or perhaps at some future date you may need it again.
Uniform Line Thickness and Color
It is essential to keep the rest of the cartoon in a similar style to the head. One feature that can make it look all wrong is outline thickness. If you don’t get it right you can end up with a cartoon that looks like the head has been ‘stuck on’. It needs to blend so it appears to have been drawn in one go.
Any other visible skin such as hands, kegs and feet that are visible should reasonably match the head/face skin tones. This also helps in making the overall image blend.
Adding layers above the face also helps. For example if the person wears glasses then add them later. This will also help you when creating the skin tones and shading around the eyes. You have a clear view of the face without glasses making it tricky. Adding overlays also adds depth such as a bow tie which overlaps the chin, glasses or a hat.
How to Draw a Face – a Working Example
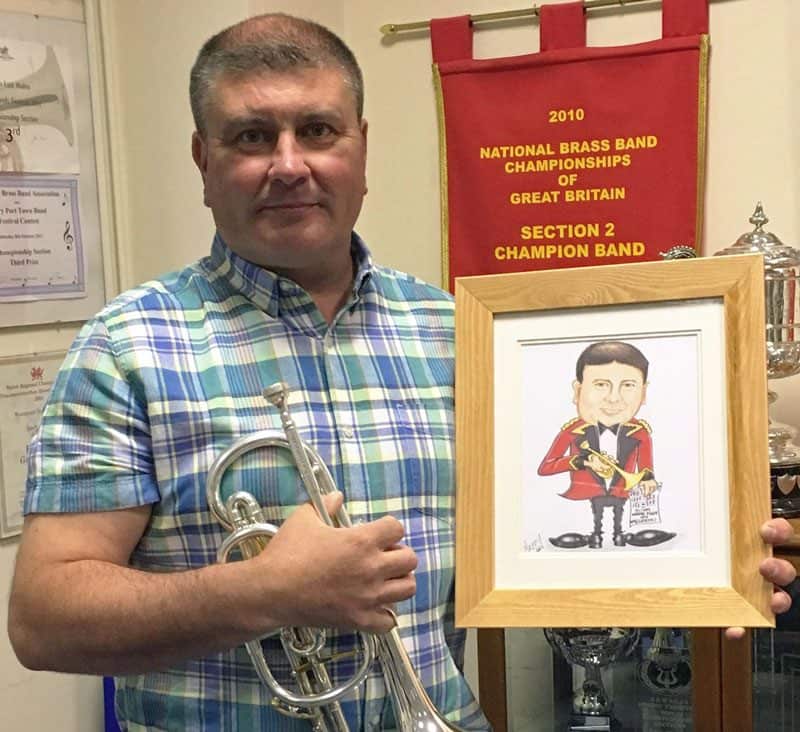
This is a recent project where I was asked to do a caricature fro a 50th birthday. The request was for the subject of the cartoon to be in a brass band uniform with the instrument. I know the person so i was able to select the best photo.
Sketching the facial elements in pencil on the light box and scan into Photobox
Tidy up the image on the graphics tablet in ink
Creating a new layer and add some background color

Work on the hair and general shading plus eye detail
Work on the hair and general shading plus eye detail
At this point I flatten all layers and select just the head without the background color. This image is then dragged into a new file that I have already prepared the body, instrument and uniform etc.

As you can see the outline thickness of the body does not match up with the outline thickness of the head. However, I had another trick up my sleeve. I printed the image off on 300gsm card with a slightly off white finish. Then using a set of prismacolor coloured pencils i made the necessary alterations by hand, added a little more shading and sone fine lines in the hair. This fixes any line thickness problem and gives the whole thing a hand drawn unique feel to it.
I tend to fix my cartoons in a double mount (matt) on backing board and present it in a cello back. It keeps the caricature in mint condition, looks professional and is sized for the customer to frame in a standard ‘off the shelf’ frame.
Here is the Kevin Jones the person in the cartoon with his caricature. He was very happy with it as were his band who had commissioned me to do it and more important for me personally i was happy with the likeness and really pleased that everyone had got exactly what they wanted – Result!
Back to the start!
Going back to the beginning of the article – I said I don’t like copying. I think you can see that although this is not strictly caricaturisation in the true sense because the fine facial detail is traced from the light box – It works really well.
If you are in the same position as me and struggle with this art form – this is a really good way to get the job done quickly, effectively and profitably. But the best part is always seeing the joy on someones face when you hit the spot!
How to Draw a Head – Which light box?
As promised here are some really good light boxes that you might like to buy. They are relatively cheap and as you can see they will pay for themselves in no time!
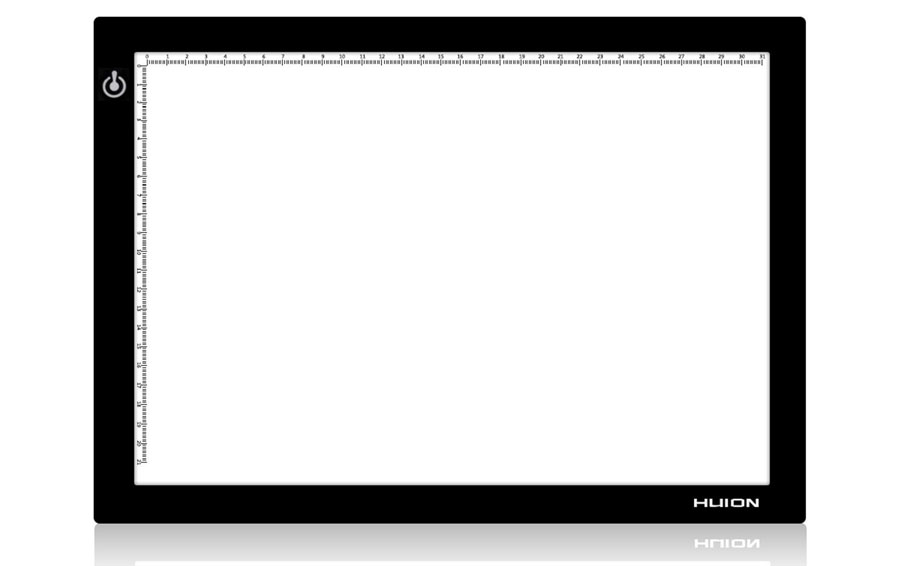
Huion L4S Adjustable Illumination LED Light Box A4, Black Frame, 17.7 Inches
![]()
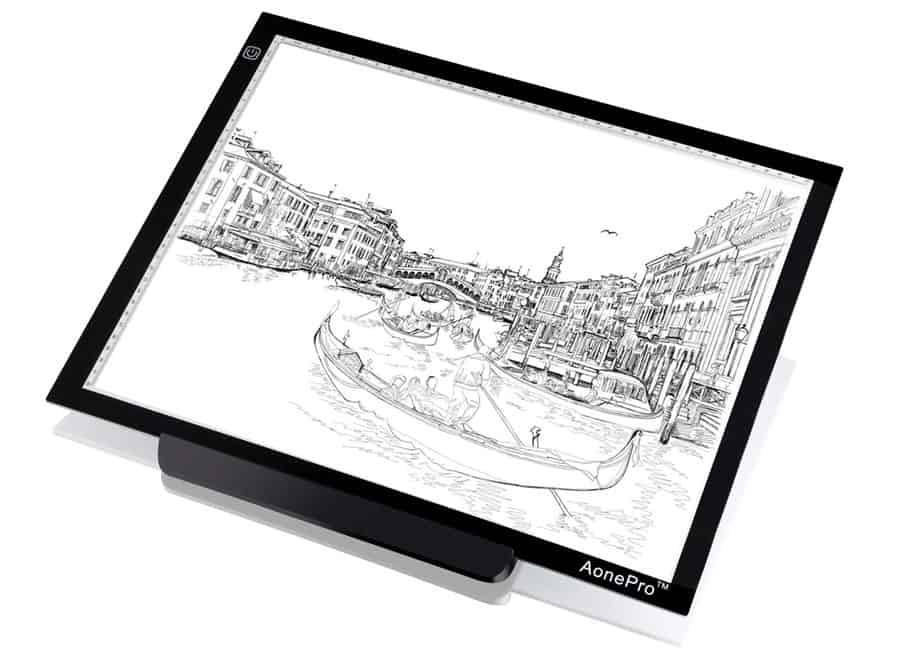
Aonepro A3 LED Tracing Light Box USB Powered Ultra-Thin 19 inch
![]()
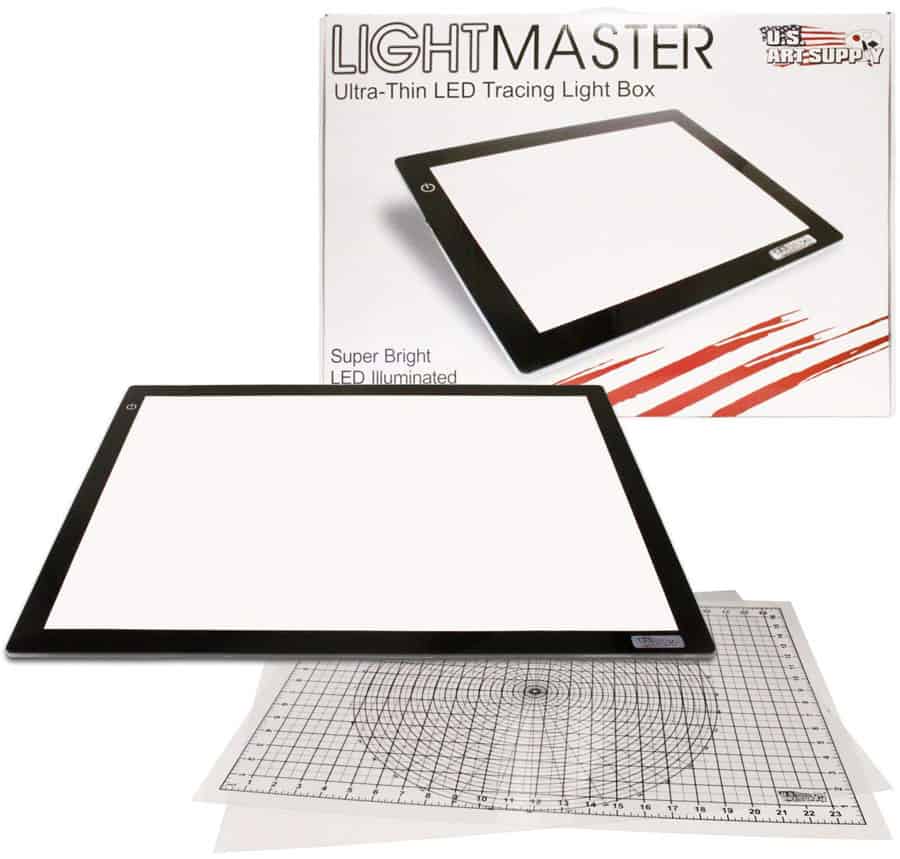
US ART SUPPLY Lightmaster 32.5″ Extra Large (A2) 17″x24″ LED Light box
![]()